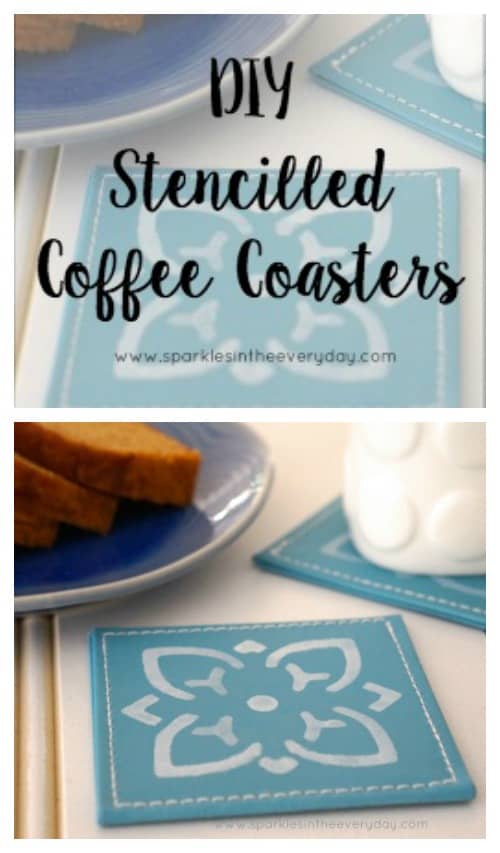
The tips to making DIY Stencilled Coffee Coasters!
I fell in love with the colour of these coasters while shopping at a local store yesterday and the best part was that they were only $2.00 for 4 coasters!
but lets be honest they needed a bit of flair.... they were crying out for a bit of personality!
How to DIY Stencilled Coffee Coasters
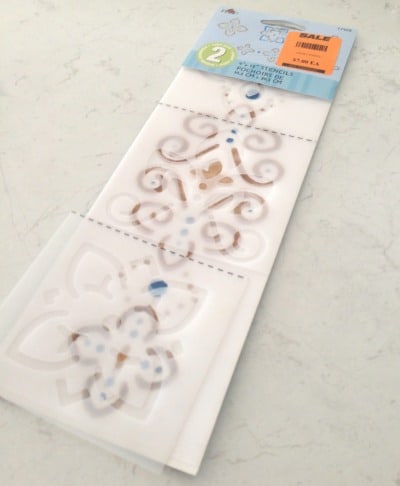
So after having a scrummage through my craft stand, I noticed a stencil that I got on sale ages ago...yes so long ago I never even knew I had it... win win!
So armed with the stencil, I was ready....but I had no fabric paint in the right colours.
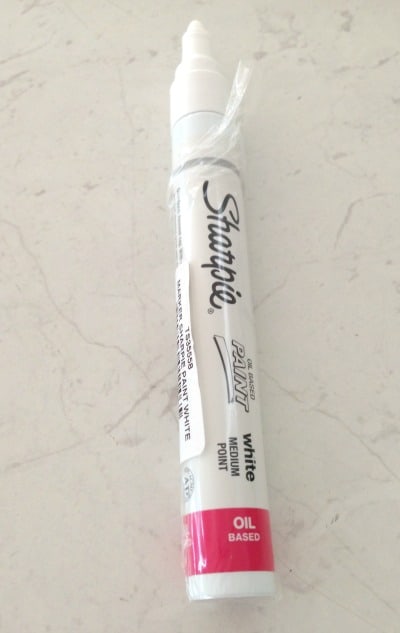
but I did notice a Sharpie pen.... in the texta pot ... that was oil based!!
yes...that means it was not going to scratch off the coasters and I could wipe down the coasters if needed.
(so like all good crafters...this is where it gets exciting, when you scrummage in the dark depths and find just what you need! 🙂 )
So I went about stencilling.
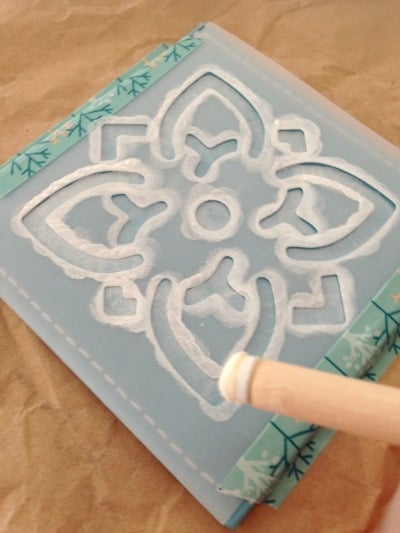
All I did was to make sure that I taped down the stencil on the coaster, so it wouldn't move while painting.
Tip - I then made a little pool of white paint (by pushing down the Sharpie pen tip a few times on a paper plate) and then using a stencil dabber, I simply filled in the stencil, waited for it to dry and then...
....Viola!
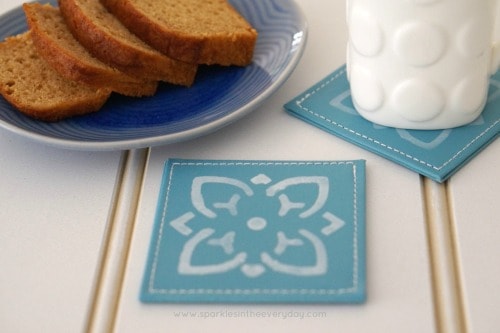
Coffee coasters with personality! (and done very cheaply!)
So of course, after such a hard craft activity, I sat down with a coffee on the new coaster and a slice of cake... (well a few really 🙂 )
and enjoyed the winter sunshine!
Enjoy!
🙂
You can pin this DIY Stencilled Coffee Coaster idea to your Pinterest page, to remind you when you are in the mood for a little crafting or to give some personality to some drab coasters! ?
Simply hover over an image and the Pinterest sign will come up, so you are able to click on it to save it to your Pinterest board.
You can follow along for other great recipes, craft ideas and lots more by following the Sparkles In The Everyday Pinterest Board.
You might also like....











Leave a Reply