All the steps to create an Easy DIY Crochet Blanket. Clear and simple instructions to crochet a warm, cosy throw, blanket or shawl!
I have crocheted since I was a small child after I sat with my grandmother and she patiently showed me. Now, each winter I snuggle up with a whole heap of fluffy balls of wool and crochet to my heart's content. It is very relaxing and after practice, it is something I can do while watching T.V (no I am not a geek....not sure if this is something to be proud of or even share with the world...opps too late 😏)
I think I love crocheting because it has something to do with it being an 'old craft', or that it is repetitive and very relaxing, or that it brings back that warm, loved feeling of my grandmother.
What ever the reason....it is a very comforting and relaxing craft, that you can do at your own pace. A few rows each night or you just don't move from that spot for a few days (I don't recommend this as the rest of your family just stares at you waiting to be fed... 😳)
Nothing like spending the winter months crocheting away.
It is great way to relax after a busy day, when you just need to switch off your mind and not think too hard.
The best part is starting with a piece of wool and when creating a cosy blanket, seeing it grow bigger and bigger ...The other great part is that it keeps you warm...and the goal is to get it big enough to keep your toes warm too. (...this is a good incentive to make a blanket quickly 😀)
So here are the easy DIY steps to crocheting your own cosy blanket!
Many of my friends have asked me to show them....the easy way to crotchet! (opps.... I mean crochet)..my grandmother's way....without the crochet abbreviations because they can be confusing and it is like reading another language.
So here it is.....how to do these simple stitches with lots of photos and easy explanations.
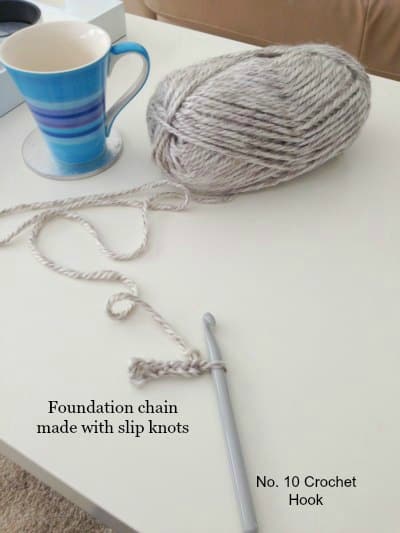
To make this blanket I used a no. 10 crochet hook and 12 balls of large, thick fluffy, heavy wool. The brand is Lion Brand Yarns called Heartland - Thick and Quick, Super Bulky and it is 100% acrylic and totally machine washable.
Happy crocheting!!
All the steps to Easy DIY Crochet Blanket!
To Start
- You need to start with a foundation chain. This is a series of about 6 slip knots.
- To create a foundation chain, make a loop at the end of the wool, place the crochet hook in the loop and pull it so it is firm. (but loose enough to slide back and forth easily on the crochet hook.)
- Bring the wool over the crochet hook from back to front and hook it through the loop. You have now made one chain (ch). Keep going till you have made it long enough to make a circle.
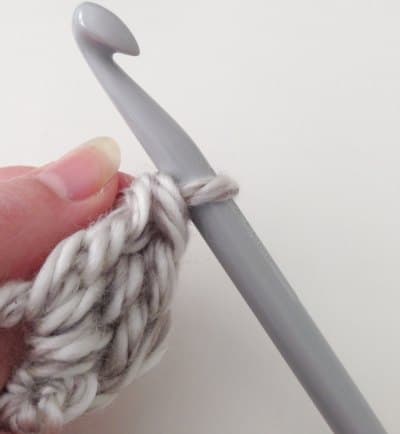
- To make the centre circle, join the foundation chain from one end to the other, with a slip stitch. Put the crochet hook in the last slip knot and then in the first chain you made to form the ring. Bring the wool over the crochet hook from back to front and hook it through the loop.
Simple Crochet Stitch
- Now to create the crochet stitch (that you will use often for this blanket)
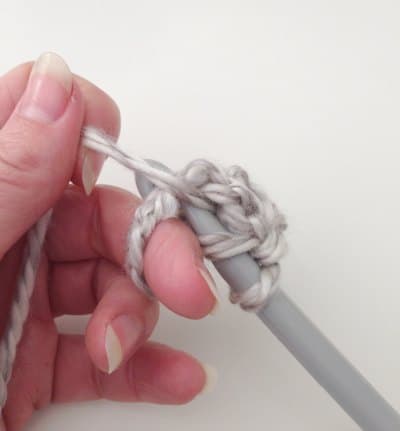
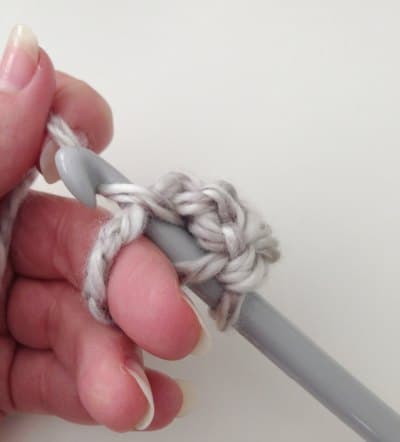
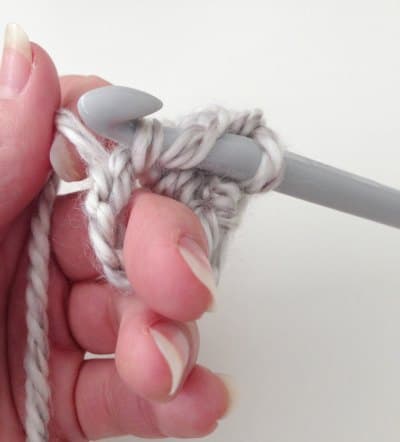
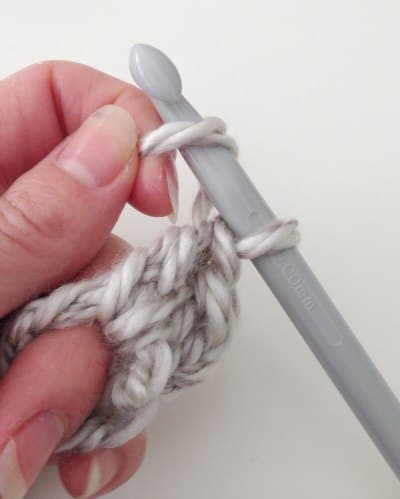
1. First, bring wool over the crochet hook from back to front, then insert the hook in the middle of the ring. I put my finger in the circle as it gives the circle some tension and makes it easier to guide the crochet hook.
- When the hook is through the circle, pull the wool over the hook again (back to front) and pull it through the circle. You will have three loops on the crochet hook.
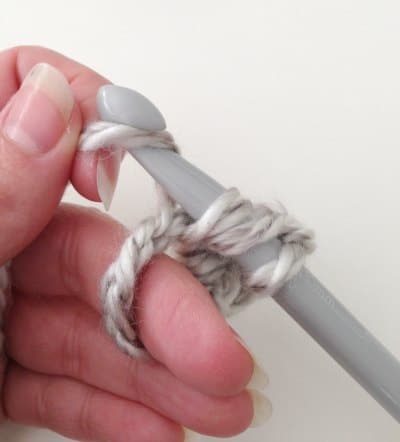
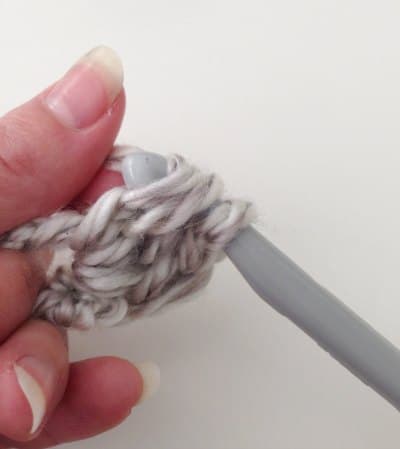
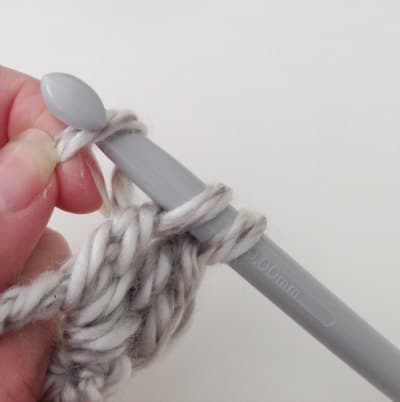
Making the Centre Circle
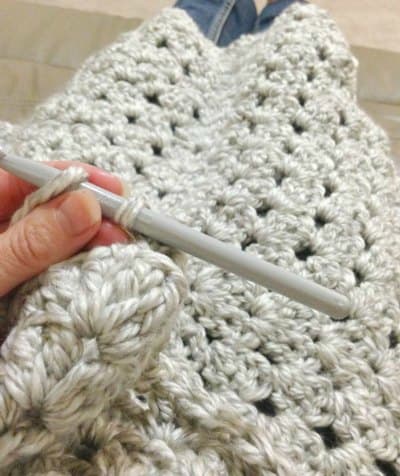
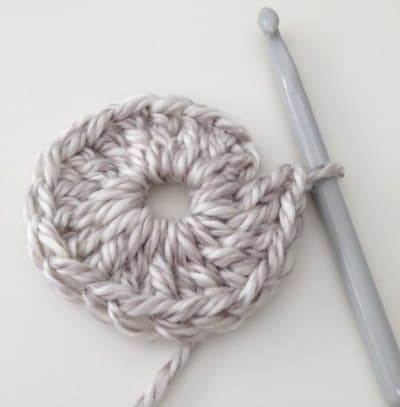
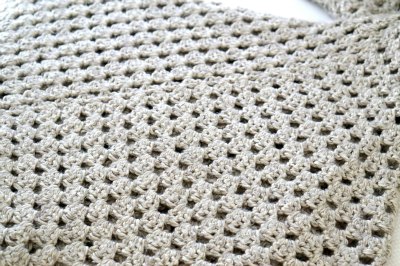
- Then you will continue this stitch all the way around the circle so that the circle when laid down flat on the table looks full (like below).
Making the Square Shape and the Corners
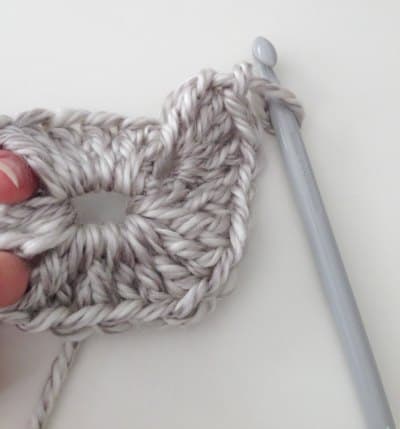
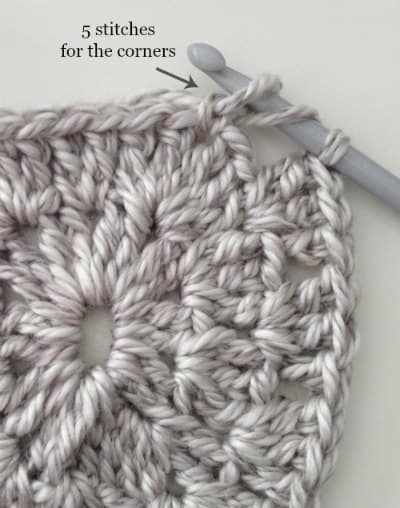
- To create the square shape of the blanket, count out how many stitches there are and divide by 4. This will tell you where the corners will be. Pull the circle into the square shape and place your fingers in between the stitches to create an opening. Place your crochet hook into the first opening and crochet 5 stitches (the first corner).
Making the Sides
- After making the first corner, then you need to create the sides. The sides are made up of 3 stitches in 2 openings between the corners. Each side needs to have 2 groups of 3 stitches
- Place the crochet hook between the stitches, not in the top loop part of the stitches.
How to Move on to The Next Row
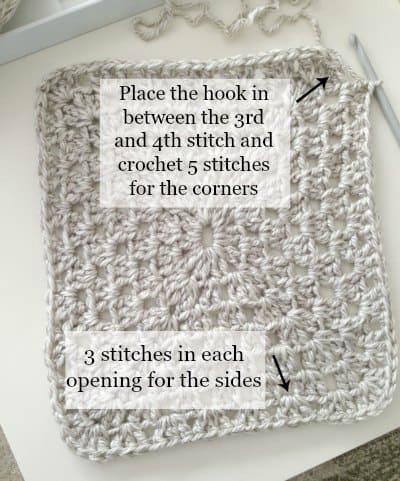
- Once you have made your way around one and set up the shape of the square, it is just a matter of doing 3 stitches in each opening for the sides and when you come to the corners, you count 3 stitches of the corners and place the crochet hook in between the 3rd and fourth stitch, and crochet 5 stitches (This makes another corner for the next row).
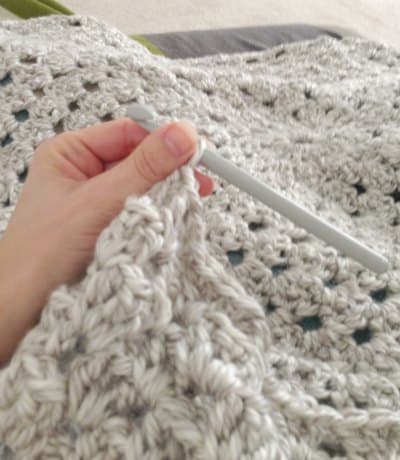
....and now it is just a matter of getting comfortable and keep on crocheting....and crocheting until the blanket is the size you want it to be.
The best part about these crochet blankets are that they are 'stretchy', so no matter how you lay to watch TV, they can fit right around you.
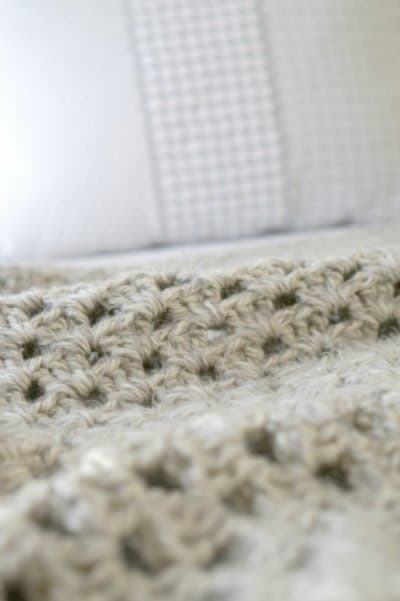
These blankets are gorgeous when you need extra warmth on your bed when the weather gets cold. Using a thick, heavy good quality wool/yarn makes all the difference.
Make sure you use wool/yarn that is washable. I have made 3 blankets and all of them have been through the washing machine numerous times and they come up fluffy and they still keep their shape. It is worth paying a little extra for the good quality wool/yarn so that the blankets are something you can keep for years to come.
Happy Crocheting!!
😀
You might also like .....






Kelly
Can I have one of these beautiful crochet blankets for Christmas please!!
Shehla
What a beautiful blanket! I saw your post over on Pieced Pastimes. I just release an ebook to teach people to crochet and I would love it if you took a look. It's called The Beginner's Guide to Crochet, and it's over on my weebsite!
Kristina & Millie
great pattern! love the yarn you used too. That is such a great idea to put your finger through the center hole - I always struggle with that part and never thought to do that! Thanks for sharing the pattern with us 🙂
Cally Berryman
Wonderful blog. Love the story.
Barb
Thanks Cally!
I went across to your website and your novels are amazing ... well written, intriguing and so worth checking out!! 🙂