DIY - All the tips to dry your own herbs at home, easily! The best way to use an abundance of fresh herbs and store them ready for those winter months!
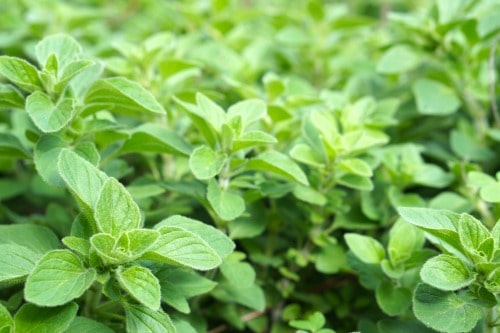
There is nothing better than cooking with fresh herbs but when the season changes and herbs growing in your garden start to finish their growing season, it is time to store these herbs ready for the upcoming months.
There are a few ways to dry herbs including in a dehydrator, in the oven and even in the microwave but one of the easiest way is by air drying them! ( ....love the easy way! 😉)
Air drying doesn't deplete the herbs of their oils and is inexpensive! (ok..love the cheap way too! 😉)
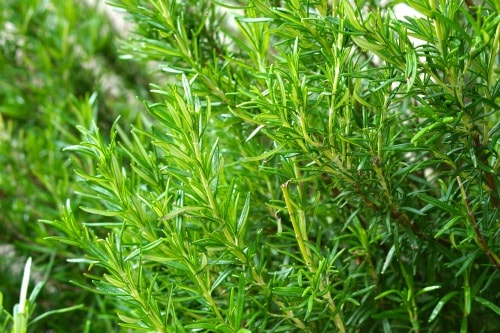
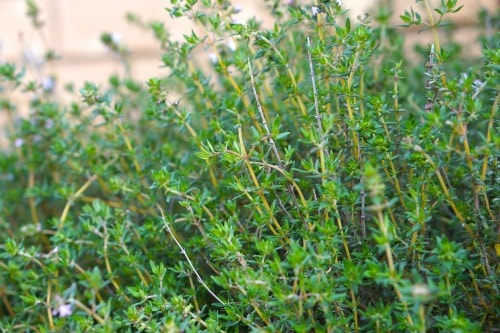
This process works best with herbs that don't have a high moisture content - like Oregano, Rosemary, Bay Leaves, Dill, Marjoram and Thyme.
Herbs that have more moisture - like basil, chives and mint are best to dry them in a dehydrator or in the oven otherwise they can go mouldy especially if it is a little humid.
Air drying herbs can take between 1 to 3 weeks (depending on the humidity) and once dried, you only need about 1 teaspoon crushed/rubbed dried leaves in place of a tablespoon of fresh herbs.
Dried herbs are best used within a year as the dried herbs can lose their colour and loose their flavour....just in time for next years herb crop!
So, what is the best way to air dry herbs....with paper bags!
Paper bags and air drying herbs!
Paper bags are perfect for air drying herbs for a few reasons!
Covering the herbs with the paper bags, stops dust from collecting on the drying leaves.
They prevent mould growing on the herbs,
and they prevent the herbs from fading and loosing too much of their colour.
How to dry your own herbs at home!
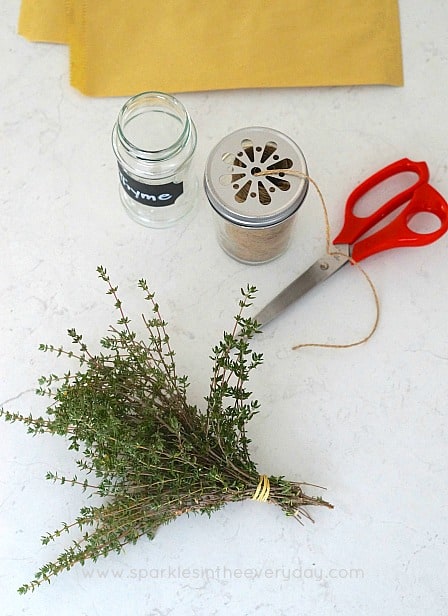
Step 1 - create a bunch
Cut a small bunch of herbs and shake them well to remove any dirt or.... bugs! 😱
Rinse them well and then take the bunch and tie it together with a rubber (elastic) band.
Rubber bands work well as they are easy to tighten when the herbs stems start to dry out and become thinner, then they are easy to loop around again so the herbs don't fall out.
Step 2 - the paper bag
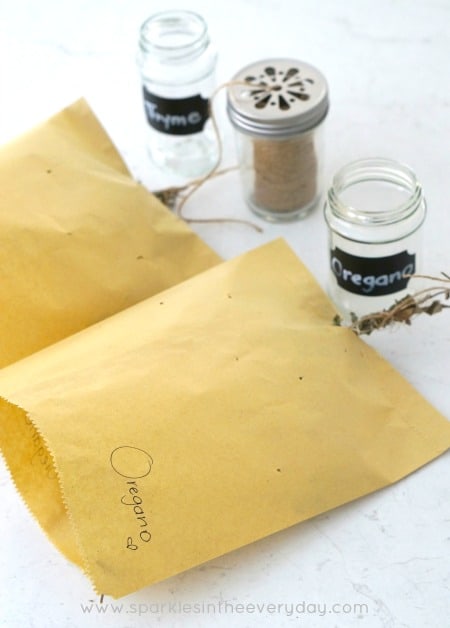
The next step is to take a paper bag and cut a triangle in the centre of the sealed section (bottom of the bag). Then poke some small holes in each side of the bag - I use a toothpick to do this).
Having the holes and the paper bag open allows the air to flow through and prevent mould on the herbs.
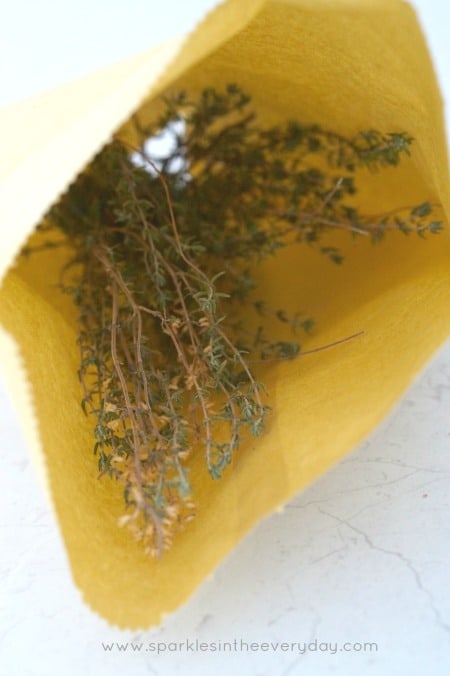
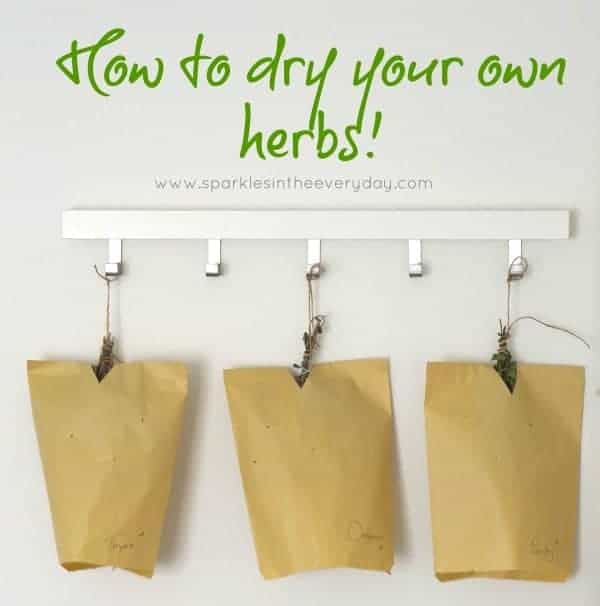
Thread the stems of the herb bunch through the triangle opening (so the herb bunch is hanging up-side-down.) Then tie on a piece of twine so that you can then hang the herb bunch covered with the paper bag.
Make sure you label the bags so that you know what the herbs are in a few weeks times. (obvious I know, but they do look different after drying them)
Take a look inside to make sure the herbs are not crowded inside the bag.
Step 3 - hang the herbs
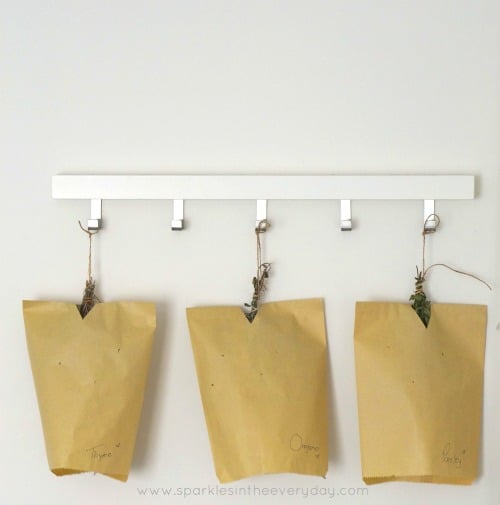
Then hang the herbs in a warm, dry, indoor area as this will allow the herbs to dry throughly.
Often the kitchen is not the best place due to the change in humidity and steam from cooking.
so for us... we find another place for our coats for a few weeks.... and 'hello Ikea coat hooks', our new home for the herbs!
Cute... right!
Love the smell of these herbs every time I walk past them, doing their 'hard work' and quietly drying! 😉
Your herbs will be ready when they are completely dry, crispy and easy to take off the dry stems.
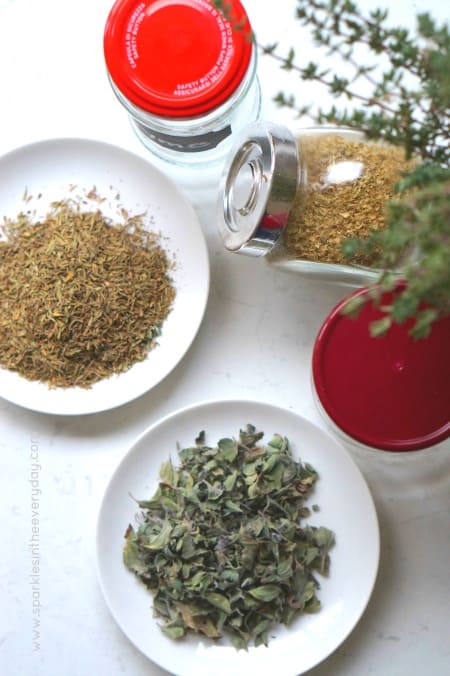
Remove the leaves from the stem and store in airtight containers. I use recycled jars that have a screw on lid or you could use zip lock plastic bags)
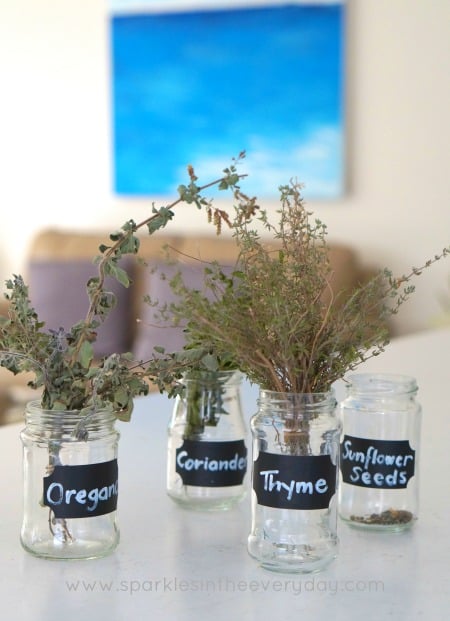
The dried herbs will retain more flavour if you store them with the leaves whole and then crush or rub them when you are ready to use them.
Keep the herb containers in a cool, dry place away from sunlight.
See... so easy to dry your own herbs!
Once you have done this once, you will wonder why you have not done it before!
Enjoy!
😉
You might also like....
The best herbs to grow at home!
Save this to your Pinterest board for when you have plenty of fresh herbs and need to dry and store them for the winter months!
You can follow along for other great recipes and lots more by following the Sparkles In The Everyday Pinterest Board.






Laurie
I had no idea it was so simple! Thanks so much for sharing this with us at Brag About It!
Nikki Gwin
I always say I am going to do this. No time like the present I guess.
🙂 gwingal
Rebecca
Great tutorial on drying herbs. I'd actually never thought to use my dehydrator for more moist herbs. I'll have to try that, thank you. I do have one question for you, though. Do you need a paper bag over the herbs when they dry? I always thought you could just hang them out in the open. Just wondering.
Michele Morin
I"ve been wanting to do this, and wondering how to do it well. Thanks for this amazingly detailed and helpful post!